Exploring android development on iPad
After Apple has announced M1 for iPads, people started speculating that we will see “pro” apps like Xcode announced for iPadOS during the upcoming WWDC. It got me thinking about the experience of building mobile apps on tablets, especially the workflow with emulators/simulators.
A couple of months ago, I came across the blog post of Joaquim Verges that showed how Projector could be used to enable remote IDE experience. Essentially, Projector allows running IntelliJ-based IDEs, such as Android Studio, on a remote machine with a lot of computing power. Since Projector draws UI in a browser, your favorite IDE becomes available anywhere, including iPads.
However, the mobile dev loop is incomplete without running the app in an emulator or a physical device. To my knowledge, there is no way of running an ADB server on iOS, killing off chances for connecting an Android phone directly to an iPad. Hosting emulators on iOS is also not possible without jailbreaking the device or sideloading applications. Instead of hosting it, we can run it alongside Android Studio on a VM and connect to it using a VNC client.
The first part of this blog post demonstrates the result, while the second one dives deeper into technical details.
An overview of the dev experience
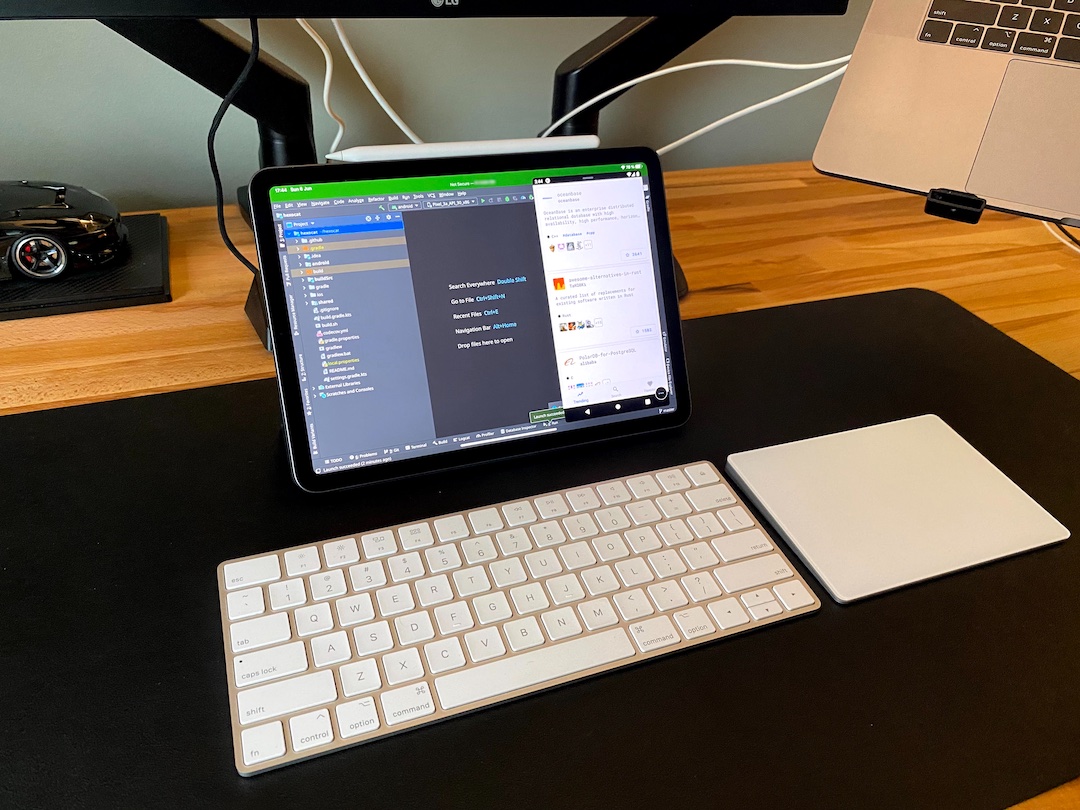
The setup used in this demo includes an iPad Air (2020) paired with a magic keyboard and trackpad (see the picture above). This combination works pretty well, especially with the cursor support in iPadOS.
Below you can see Android Studio (AS) rendered in Safari and the Android emulator connected through VNC. Since both Android Studio and emulator run on a single VM, AS automatically discovers the emulator as a target device.
The IDE experience and performance
The performance of the Projector is surprisingly good. Even though latency is noticeable, it is not significant enough to become disturbing. The cursor support comes in very handy, especially for small UI elements of IDEs. Since AS is running on Linux, there is access to a shell and git, which is a massive advantage.
Some of the biggest downsides that I have encountered so far are:
- The keyboard shortcuts do not work or clash with the ones in the browser (can be specific to Safari on iPadOS).
- Trackpad gestures, such as two-finger scrolling, are not translated into scroll events in the IDE correctly.
- Projector occasionally hangs and sometimes drops the connection.
And the last con is that there is not much space left for AS when running side-by-side with the emulator. If you are running a 13” iPad Pro, it will be less of a problem for you. Alternatively, you can run the emulator in a slide-over window:
The emulator experience and performance
One of the highlights for me was that the VNC client sent the touch and scroll events directly to the emulator. Using the touch screen to control the emulator felt much more natural compared to clicking and dragging the mouse. In general, performance was acceptable, but there is a lot of space for improvement in the latency and framerate. I have tried VMs with dedicated GPUs and WebRTC instead of VNC but did not get better results. Possibly that hardware acceleration does not work well with nested virtualization of CPU and GPU, so renting a bare metal machine could help, but I have not tried that yet.
Configuration steps
The second part of the blog post describes the steps necessary to configure the Projector server and emulator.
Virtual machine
You will need a VM with support for nested virtualization or KVM. Otherwise, android emulators will be unusable. I have picked Ubuntu Server 18.04 LTS, so some steps will have to be adapted to the distro of your choice. Pick a VM that is geographically closest to you, as it will likely have lower latency. My configuration had four virtual cores and 16 GBs of RAM.
Once the VM is up and running, you will need to set up your private/public SSH keys. Most cloud providers like AWS, Azure, and Google Cloud have tutorials on how to achieve that.
Most cloud providers close all ports by default as a security measure, but we will need to open at least three of them: 22 for SSH, 7070 for Projector, and 5050 for VNC. As with SSH authentication, see cloud vendor-specific guide on how to configure the firewall.
Projector
Projector setup steps are based on Joaquim’s guide with minor adjustments made to account for the latest changes in Projector.
1: You will need to SSH into your machine:
ssh username@public_ip_of_your_vm
2: Installing dependencies:
# updating local repositories
sudo apt-get update

# required if we want to run standalone SDK and AVD managers
sudo apt-get install openjdk-8-jdk

# python 3 is required by the Projector installer
sudo apt-get install python3 python3-pip

# we need to upgrade pip, otherwise installer fails
python3 -m pip install -U pip

# install Projector
pip3 install projector-installer
Now restart the shell session by exiting and SSH-ing into the machine. Check if Projector was installed correctly by running the help command.
projector --help
3: Installing Android Studio:
# create a new directory
mkdir androidstudio && cd androidstudio

# you can find a link to AS build here: https://developer.android.com/studio/archive
# projector supports only versions 4.2 and above
curl -L --output android-studio.tar.gz <direct_download_link_to_as>

# unzip the archive
tar -xvf android-studio.tar.gz
4: Adding a new Projector configuration:
# you will be prompted to accept a license when
# running Projector for the first time
projector config add --expert

  There are no installed Projector IDEs.
  Would you like to specify a path to IDE manually? [Y/n]Y
  Enter the path to IDE (<tab> for complete): <path_to_android_studio>
  Enter a new configuration name or press ENTER for default [Android_Studio]:as
  Would you like to specify listening address (or host) for Projector? [y/N]y
  Enter a Projector listening address (press ENTER for default) [*]:7070
  Would you like to specify hostname for Projector access?? [y/N]n
  Would you like to set password for connection? [y/N]y
  Please specify RW password:
  Repeat password:
  Would you like to set separate read-only password? [y/N]n
  Adding new config with name as
If you want to enable encryption, you will need to edit the configuration by running projector edit <config_name>. For some reason, Projector does not prompt us to use a secure connection during the initial setup.
5: Running Android Studio:
projector run as

  Configuration name: as
  To access IDE, open in browser
      https://localhost:7070/?token=your_password_here
      https://127.0.0.1:7070/?token=your_password_here
      https://10.0.0.6:7070/?token=your_password_here
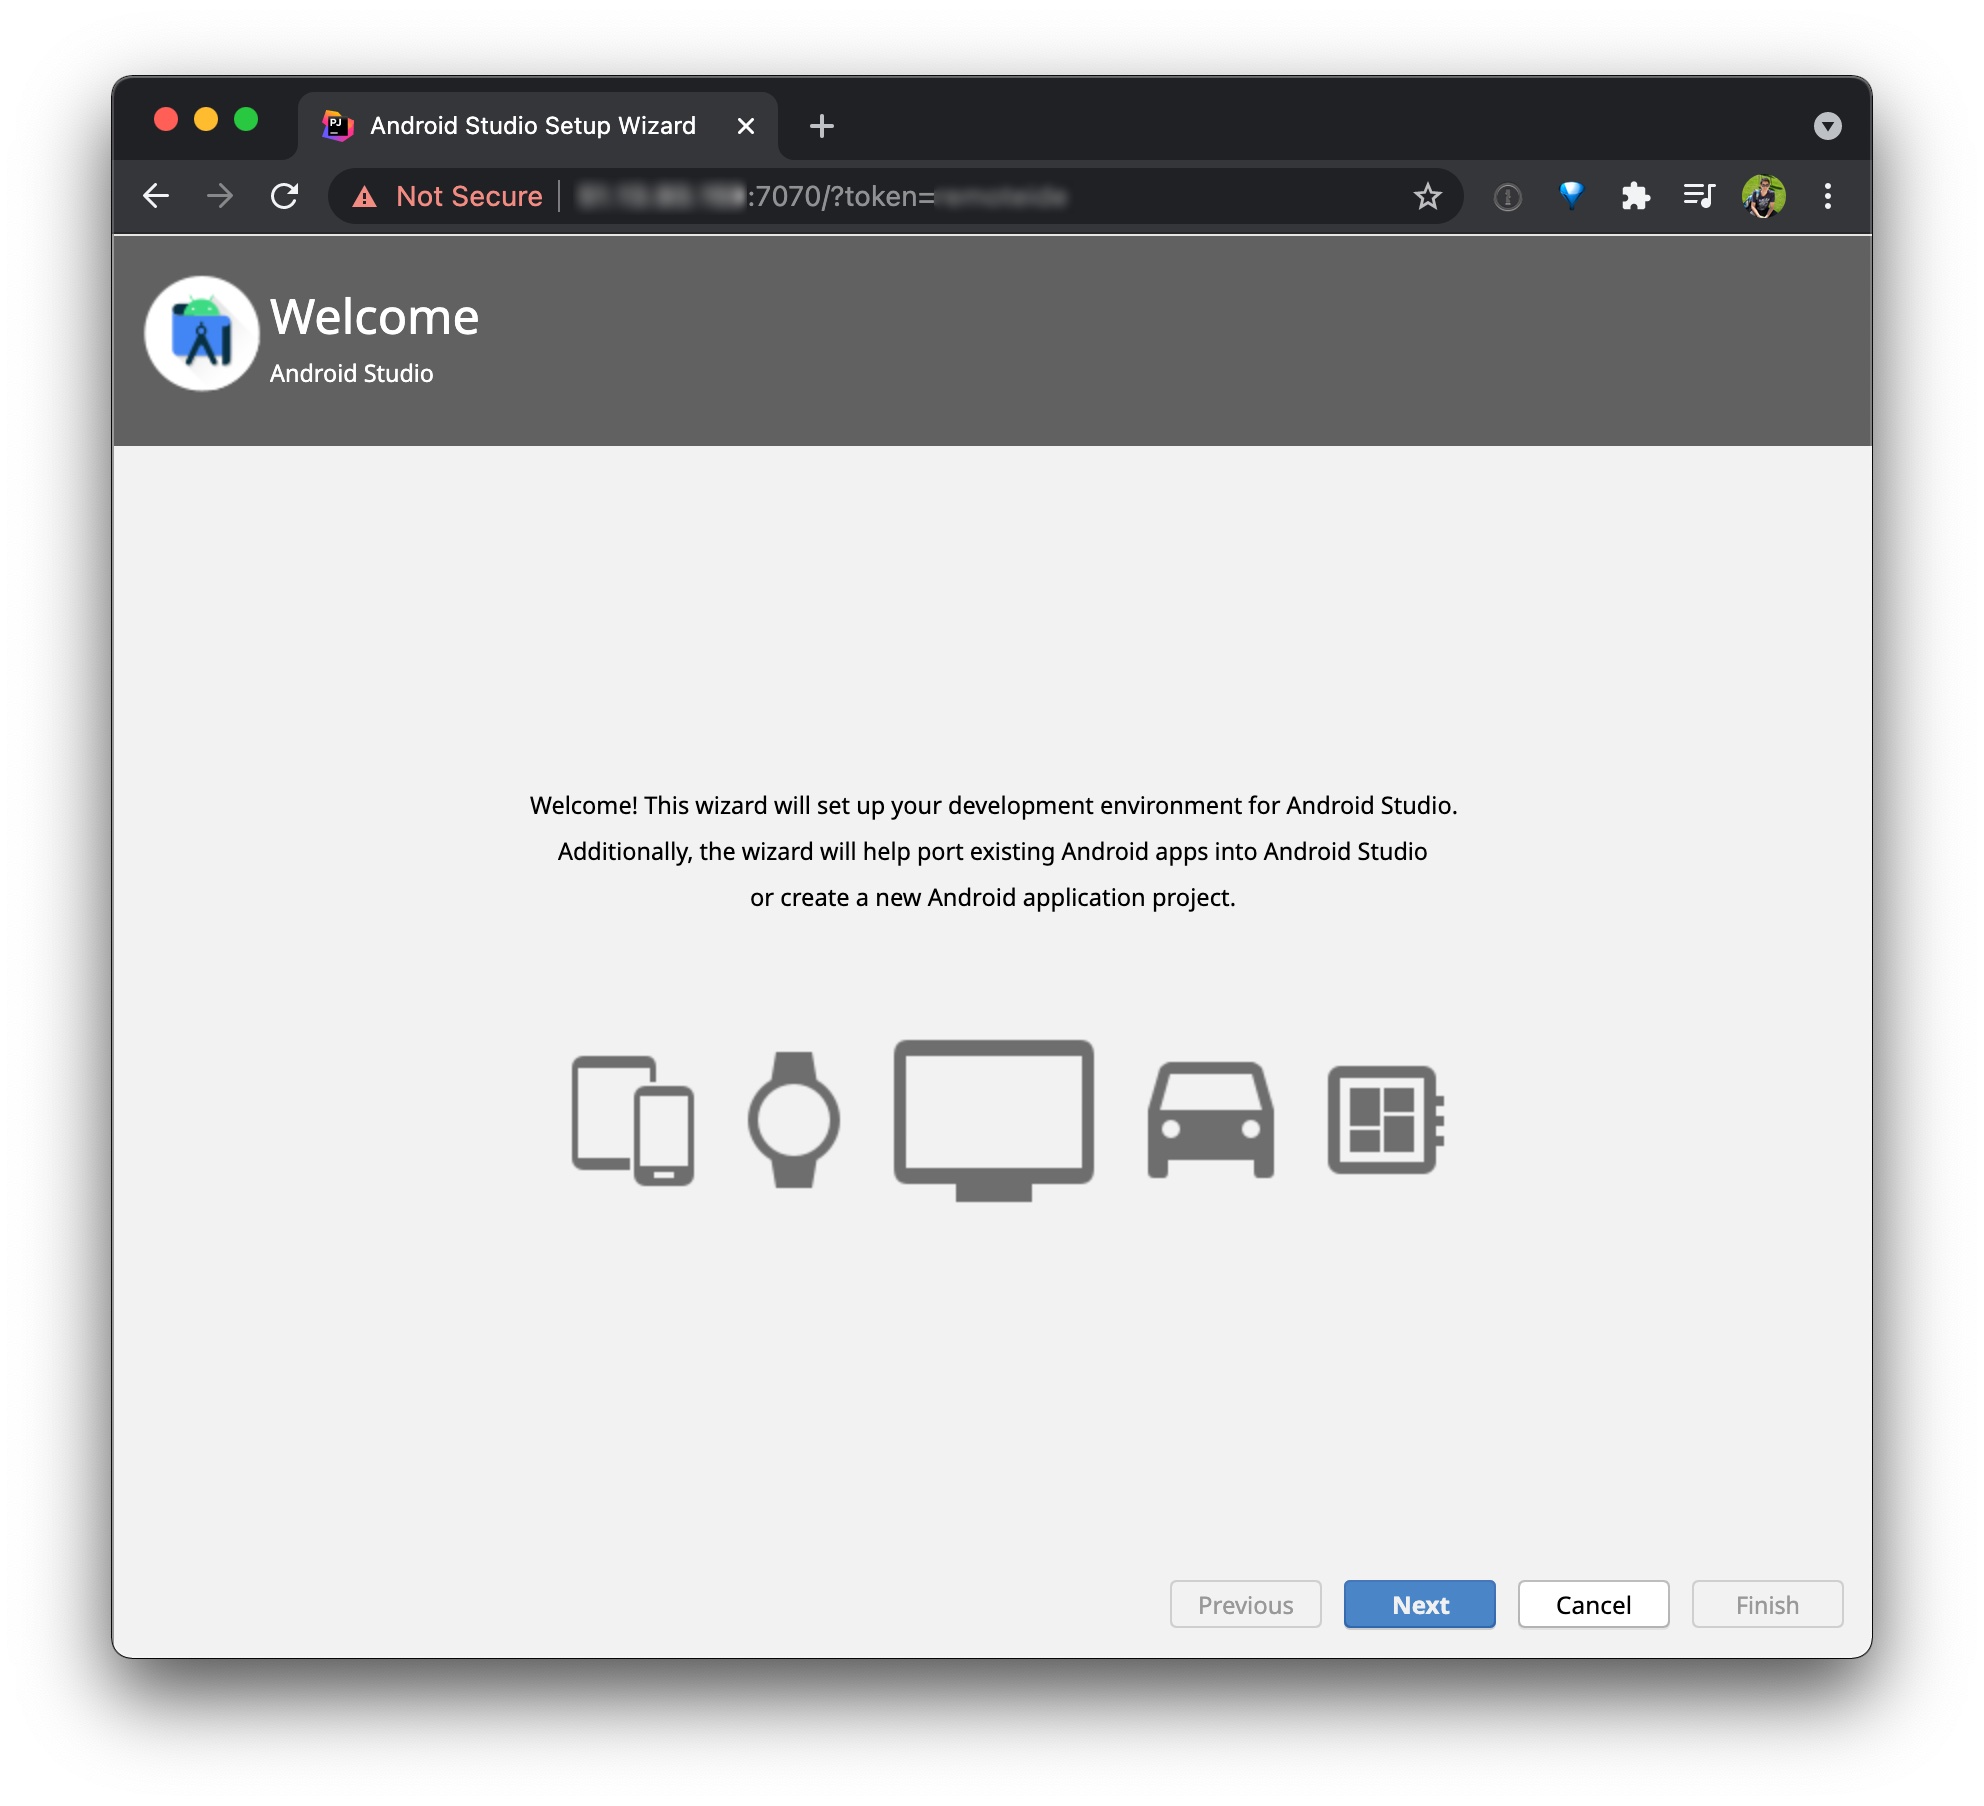
If you point the browser to http://your_server_ip_addres:7070?token=your_password_here, you will see Android Studio. Now you can go ahead and clone a project to the remote machine and start working on it.
Android emulators
1: Before installing emulators, make sure that to accept the SDK licenses:
~/Android/Sdk/tools/bin/sdkmanager --licenses
2: We need to put the Android SDK tools on the path:
nano ~/.bashrc

# append the following lines to .bashrc
export ANDROID_SDK=$HOME/Android/Sdk
export PATH=$ANDROID_SDK/emulator:$ANDROID_SDK/tools:$ANDROID_SDK/tools/bin:$ANDROID_SDK/platform-tools:$PATH

# source the .bashrc file to load new variables
source ~/.bashrc
Once SDK tools are on the path, run avdmanager list avd to print a list of available emulators. At the time of writing, Pixel_3a_API_30_x86 was set up by Android Studio by default. Note the emulator’s name, as we will need it later.
3: Install KVM dependencies to enable nested virtualization:
sudo apt-get install qemu-kvm libvirt-bin ubuntu-vm-builder bridge-utils
4: Servers do not run desktop environments with GUI to save resources. However, we want to run emulators with UI accessible, so we will need to configure an in-memory display server – Xvfb (X virtual framebuffer). To expose the X display as a VNC server, we will use x11vnc.
sudo apt-get install xvfb x11vnc
To ensure that the graphics pipeline and the VNC server are set up correctly, we will use the glxgears demo application.
# glxgears is a part of this package
sudo apt-get install mesa-utils
To test everything together, we need to create an X display, start the VNC server, and run the glxgears demo attached to the X display:
# create a display
Xvfb :1 -screen 0 1080x2220x24 > /dev/null 2>&1 &

# run the VNC server listening on 5050
x11vnc -display :1 -quiet -nopw -rfbport 5050

# run the glxgears demo
DISPLAY=:1 glxgears
5: Open a VNC client of your choice and point it to your_server_ip_addres:5050. I have used VNC Viewer for iPad. If everything works as expected, you will see the gears animation.
6: Once we have confirmed that the virtual display and the VNC server are working as expected, the only step left is to run the emulator instead of the demo. Stop glxgears and start the emulator instead:
DISPLAY=:1 emulator -avd Pixel_3a_API_30_x86 \
  -no-boot-anim -nojni -netfast \
  # since there is no GPU available, we have to use software acceleration
  -gpu swiftshader_indirect \
  # enabling KVM is critical for performance
  -qemu -enable-kvm
If you encounter an error saying that the current user does not have permission to use KVM, run the following command: sudo gpasswd -a $USER kvm. You will need to restart the SSH session for the changes to become active. Re-run the emulator command above, and now you should see the emulator logs:
...
emulator: INFO: boot completed
emulator: INFO: boot time 70809 ms
...
If you try reconnecting the VNC client, you should be able to see the emulator running:
I recommend disabling the device frame in the AVD manager settings to save precious space. You can also play around with the VNC client settings to adjust the image quality and choose an interaction method (mouse, touch panel, or view only).
At this point, you should have both Android Studio and emulators running. Congratulations!
Summary
Overall, it was a lot of fun to try out mobile development on the iPad. Different input methods, such as cursor and keyboard for navigation in IDE, and the touch controls for emulators felt surprisingly good. Let’s hope that Apple will bring developer tools to iPadOS one day.